
After years of navigating methods of maintaining bedding in the chicken coop....I think I have finally found what really works for us. 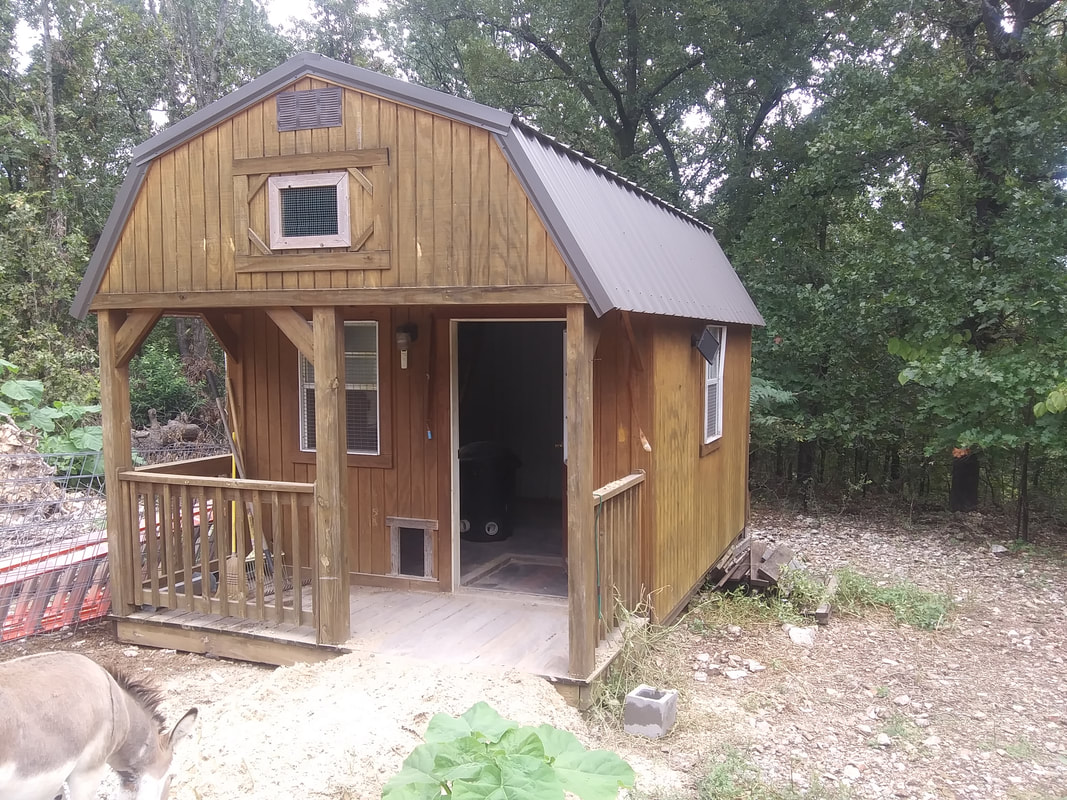 Cleaning out the main coop after a long summer. First, you need to understand that our chickens free-range so when I say 'coop' I am talking about the secure building where they roost overnight. Some of our older girls do prefer to lounge about in the coop during the day as well - but for the most part this is not a 24/7 coop and run. Second, it's a pretty large coop. It's actually a pre-fab 10 x 16 lofted cabin that we converted to a coop a few years ago. It can easily and comfortably house quite a number of grown chickens over night. This summer it has been evening home to about 30 chickens, I think... But who's counting? The problem that I have always had - which I know is common to chicken-owners everywhere - is finding some way to keep the coop clean. I have always prefered the deep-bedding method, especially in winter when the composting manure and bedding keep things cozy. In summer, however, the stench and the flies - OH THE FLIES - are less than ideal. I experimented with different litter - from hay and straw to sawdust and back to regular old pine shavings. The problem was not the litter. The problem was the poo. Most books suggest using diatomaceous earth mixed with the bedding to reduce moisture, parasites, and odors. I tried that too. I wanted it to work. However, having a large coop meant needing a large amount of DE to get the job done. Also, simply handling the bags of DE sent me into coughing fits for days and the chickens fared no better - I had problems with respiratory illnesses in my birds whenever I did use the DE. Unfortunately, there was another major problem: it did not actually help. DE is pretty much useless once it gets wet... And I ended up with a nasty dirty sludge of wet DE underneath the bedding which I had to scrape up -- adding to my coop cleaning chores. Oh, and did I mention that DE is not actually as cheap as the internet likes to tell you it is? I was shelling out $25 per week just to keep the chicken coop powdered in DE which didn't seem to do anything other than make everyone sneeze. So.. scratch that. I also tried the 'no litter' method during the hot summer months. What this meant was scraping overnight poo off the coop floor every morning and toting it off to the compost bin. Not only was it something akin to torture to wake up every morning looking forward to scraping chicken poo... but as the days got hotter and longer there was no way to stay ahead of the flies or the smell. And since the clean-up was always wet - and my cleaning methods also required the use of some amount of water to remove the sticky bits.. the coop maintained a level of dampness during the humid summer that was ... not good. 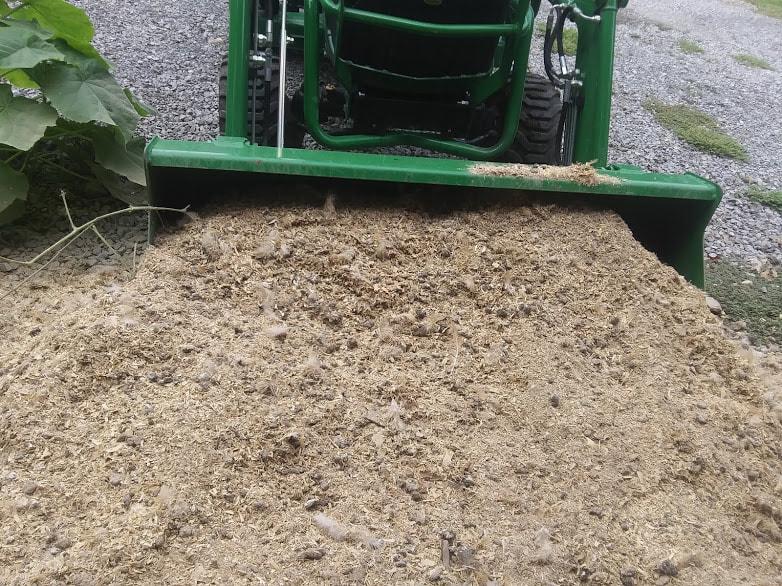 I can't believe I took so many pictures of chicken litter today. This summer I decided to try something totally new. I was convinced it wouldn't work, of course.. but I had to say I tried. After spring clean-up - I bought 1 ten pound bag of the cheapest all-purpose flour I could find (the store brand flour was $3.98 per bag) and three large boxes of store brand baking soda (at 98 cents each). I mixed it all together in a bucket and then layered it in to a thick layer of pine shavings bedding on the floor of the coop. Then I sat back and waited. Okay, not really. I still turned over the bedding every morning... but that's a lot more like waiting than scraping up icky poo every morning. Something amazing happened. There was no fly problem in the coop this summer. There was a fly problem, of course. But not in the coop. And there was no stench. Not that it smelled like one of those trees you put on your rearview mirror in there... but it did not stink to the point of gagging even on the hottest of days... it just smelled like... chickens. Also... no respiratory issues this year... no mites... and... the final test.... After four extremely hot and humid months - I cleaned out the old bedding in preparation for fall and all of the bedding was perfectly dry. It was light and easy to move. It was not clumped together. It was not even composting. If you can't tell how clean it was from the tractor picture above, then perhaps this will convince you: Did I mention that we floored our chicken coop with leftover wood laminate planks? You know, the kind of floor that does not hold up well to a lot of moisture? The floor tells it all. After removing the bulk of the bedding I was able to sweep the rest of the coop clean... After four months of heavy use. 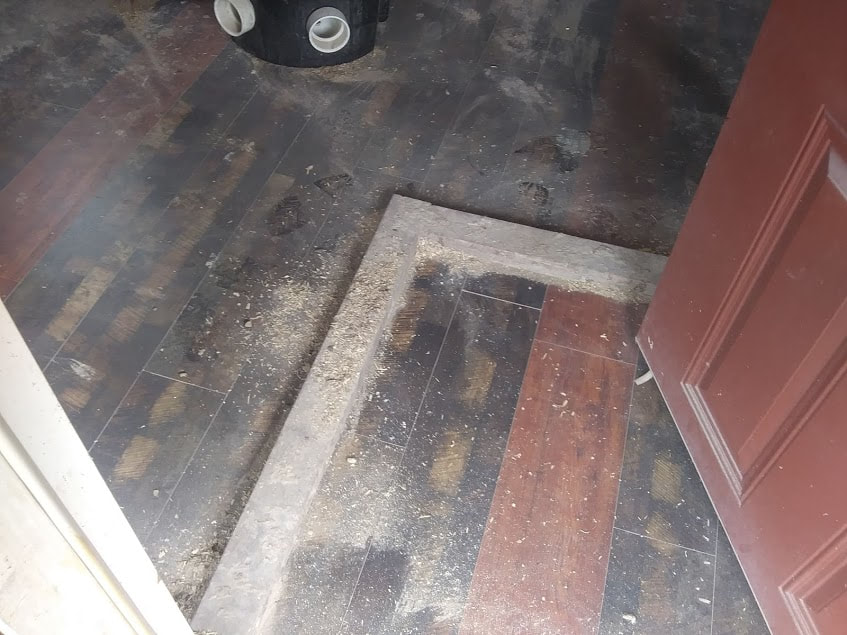 I cannot believe how easy it was to clean the coop this time around. The best part? I did not have to use any funky chemicals to get the results I wanted this year. And bonus - it was super cheap and convenient. 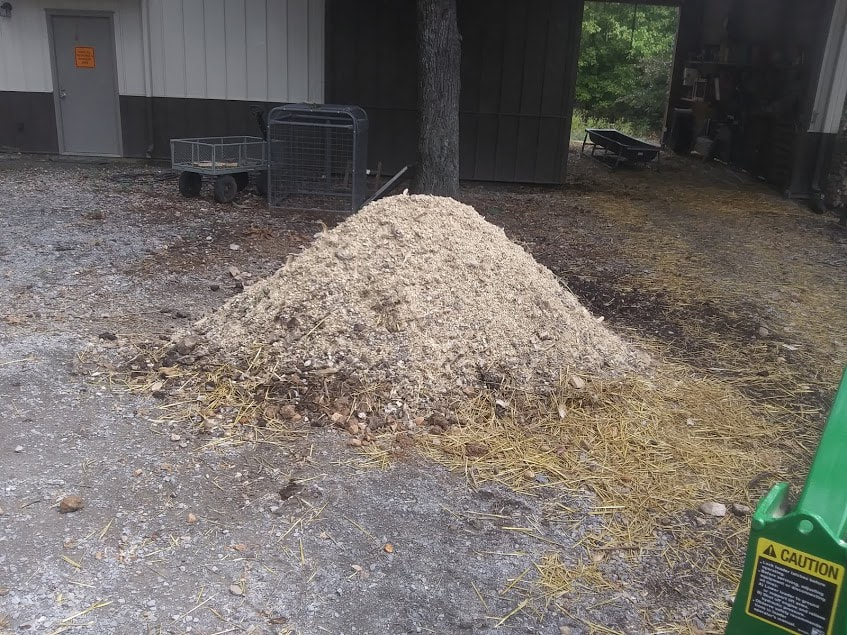 About 30 cubic yards of seriously dry litter added to the compost pile -- for the first time EVER I will have to add some green material to keep my compost cooking after cleaning out the coop. I won't be adding flour and baking soda to the new bedding as fall and winter approach as I will be wanting this bedding to compost to keep the coop toasty on cold nights. But you can bet I'll be heading to the baking aisle in the spring.
0 Comments
When we first moved up here I had zero idea what sorts of things we could grow or not grow. I was used to planting on the coast where summer was basically perpetual and winter consisted of about a week of sweater weather in January. Selecting trees was fairly simple: if it could handle unbearable heat, constant humidity, wet ground, and daily rain showers - it would grow with not a lot of effort from me. Being clueless, yet enthusiastic, we picked up fruit trees from local nurseries - assuming that if it could be found in a local nursery then it would grow locally. That was silly, of course. We bought several fig trees our first year here. They grew beautifully. Then they froze solid in the winter. The following spring there was no sign of them... But by mid-summer we were excited to see new growth from the roots. Being late starting, the trees did not have long to grow - let alone bear fruit. The same thing happened the following year. Oh. So this is how winter works. Really. That was a revelation for me. Not wanting to give up - I formulated a plan and searched around on the internet for people who had grown fig trees in places where fig trees did not want to grow.... I found some basic advice on winterizing fruit trees and ran with it.  Every fall as the nights get cold and the danger of frost approaches, we go out and strip all the leaves off the little fig trees, trim the stems back to the oldest growth, tie the branches together to form a cone, and wrap it in several layers of burlap - being sure to not leave any gaps at the bottom near the ground. The very top is left open for air flow. When there is danger of a hard freeze - we cover the entire thing with plastic contractor-sized bags. We have been pampering our fig trees this way for three winters. Though they were faster returning in the spring - the growth was not substantial over the season... and I was beginning to think figs in NE Oklahoma were a lost cause... Until this year! Finally, the trees have grown to the point that wrapping them this year will be a challenge... and....  They are absolutely loaded with large ripening figs. It is so exciting to finally see our persistence begin to pay off! This year I am actually looking forward to tucking our little fruit trees in for the winter - because now I know it's worth the extra effort. Now if I could figure out how to overwinter citrus trees, I will be set.....
The Guinea Fowl girls are finally laying. The eggs are not full-size yet, but there are plenty of them at least. 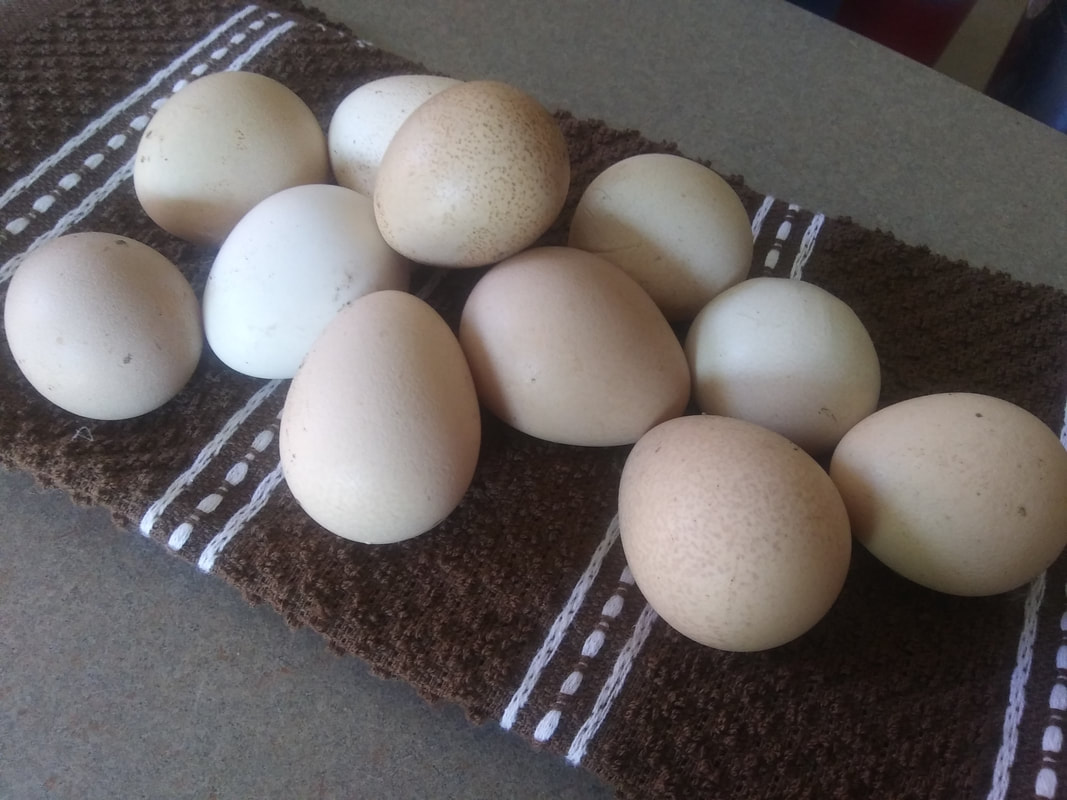 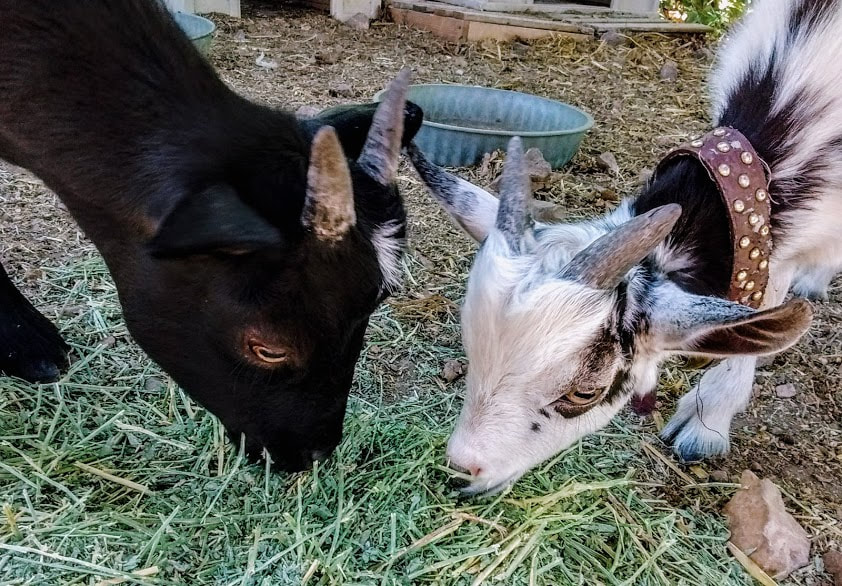 Recently I was making small talk with a lady whom I had just met (which seemed to be the proper thing to do given the circumstances), and inevitably ended up sharing a little anecdote about my goats. I say "inevitably" because goats have been a part of my life in one way or another for several years now, so that it is natural to include the subject when I am talking to someone who does not know anything about me. Of course, I am assuming (which is also a natural part of introductions) that the person wants to know something about me to begin with. Ah, but back to the conversation. When I finished my short little story about goat adventures, the lady looked at me with some irritation, waved her hand dismissively, and said, "Yeah. I have goats, too."
It stung a little. Aaand the conversation ended. I am pretty sure that any prospect of a future friendship with this person also ended at that moment. Not because I was offended, but because it was clear that she would not be particularly interested in such a relationship. A few days later I was still tumbling the exchange around in my head. I wish I could say that it warranted so much thought because it was an unprecedented thing. On the contrary, it seems to happen more and more often of late. So much so that I am beginning to feel as if strangers are more strange than they ever were before -- that something happened out there in the world at large while I was busy on my hill. I missed the program. I did not get the memo. When did we become so completely uninterested in one another - to the point of rudeness? What is going on? As I contemplate the awkward encounter, I keep coming around to the idea that years ago - maybe many years ago, but most definitely for millennia before the change - that moment of the discovery of some common ground, some common interest or experience - would have been a good thing. "Ah," we say to our fellow man, "We are cut from the same cloth! We can start here." People seem to be constantly searching for two things - and, I believe they are willing to sacrifice friendship in the process: everlasting newness and knowledge for personal gain. Those two things are not unrelated in this land of consumers. Hear me out, here. We are all consumers, we all consume things. But there was a time - not too long ago - that it wasn't our consumption that defined us. I believe it began with our consumption of things, although the consumption of things is not inherently wrong and does not necessarily lead to the destruction of civilization or anything like that. We are not locusts... or we are not supposed to be. (After all, we are also producers. Or, we once were -- sometimes it feels as if that role is declining.) But, once upon a time, there was an orchestrated battle for the mind of modern man and advertisers (who knew a lot more about how our minds work than the rest of us care to know) taught people - an entire society - how to be masterful consumers of things. And then they didn't stop at things, because there's always more to sell. We became consumers of experience, consumers of ideas, consumers of knowledge, consumers of one another. If you have been following the blog or my Facebook page, then you know that we have been working on various home remodeling projects here - including (but certainly not limited to) - replacing our white wall-to-wall carpet throughout the downstairs with porcelain wood-look plank tile.  Downstairs includes our master bedroom. And once we had pulled up the old carpet, it was completely necessary to take the opportunity to repaint as well. The original walls were a mossy green - which I updated to a more muted bronze months ago. We started laying our tile in the bedroom at the beginning of July. I will be honest: I thought we would have been done with the entire project by now. But we had a bit of a setback in having purchased and used the wrong mortar for the job when starting out - resulting in having to take up and reset a lot of previously laid tile. And there is also the problem which will never go away: my choice of tile. 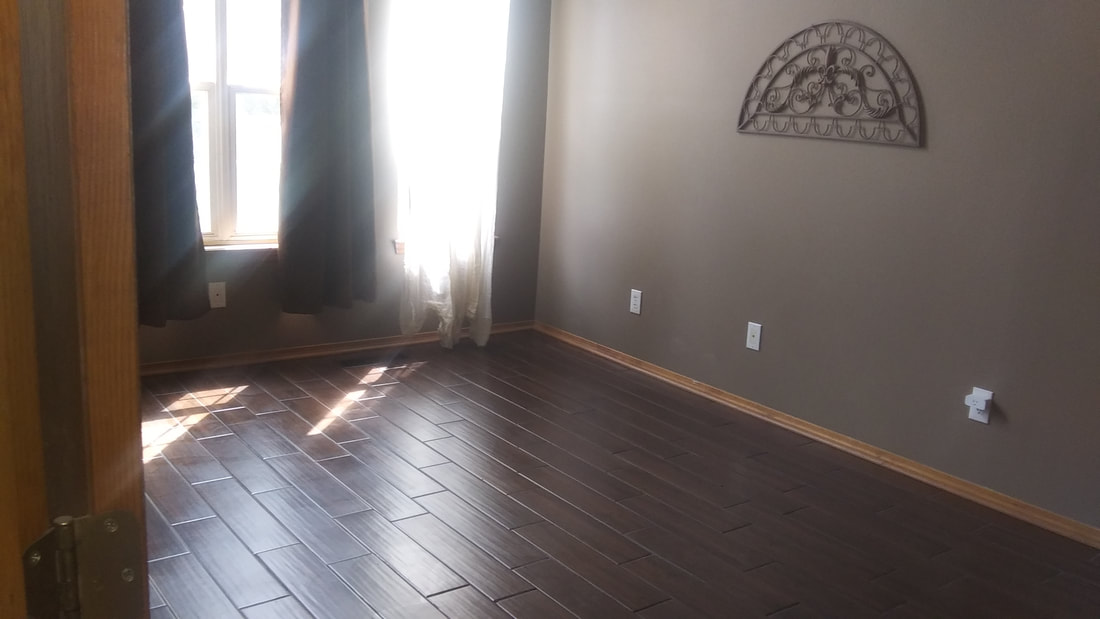 Porcelain wood-look plank tile (6" x 24"): A few things you should know (that we did not know when we decided to use it.) First, porcelain is very hard and difficult to cut - a decent quality tile saw is absolutely imperative if you want to finish tiling with porcelain within a generation. Also - as we learned the very hard and tearful way following our wrong-mortar fiasco - the 24" sides mean that plank-style tile is always considered a large format tile - no matter how narrow the planks may be (purchase the appropriate mortar). Everything else is concerning the relative dimensions of the tiles. And I do mean relative. The tiles are not the same thickness. They are not the same overall size. They are not perfectly square - some curve significantly. They are not a consistent thickness throughout the tile. Many have a substantial bow to them and will not set flat on the floor (something you have to make up for with some creative mortar beds). All of this means that it is impossible to get a perfectly consistent grout line or a perfectly straight line on long runs of tile. The stuff is great if you start out with the idea in your head that you want a rather random and rustic look. (Fortunately, that's exactly what I wanted.) If not, you will surely lose your mind.  We have officially finished the bedroom - which looks fantastic. No regrets! Even though it took at least six weeks longer than we had anticipated. We now have somewhere comfortable to sleep so that we can rest up and conquer the rest of the downstairs floors. 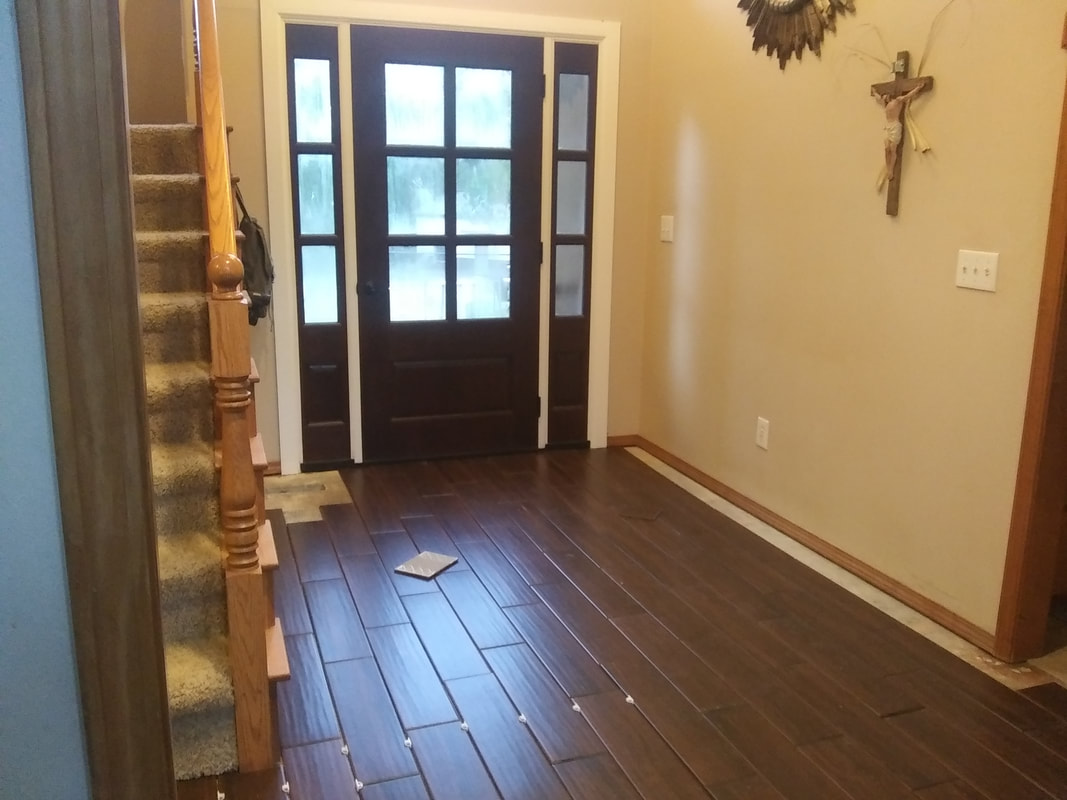 We have begun laying out the tile for the remaining hallway and into the foyer. I am a little anxious about the incredibly long runs that have to happen from the front door to the back of the living room and we are hoping that enough planned randomness will compensate for less than perpendicular lines... Besides dark (black!) grout covers a multitude of sins. Now I have to stop talking about it and get to work - I hear Dave mixing a bucket of mortar as I type. Posted by AnitaHates wall-to-wall carpeting this much. |